
How to Install Your Cap Flags Baseball Cap Accessories
1
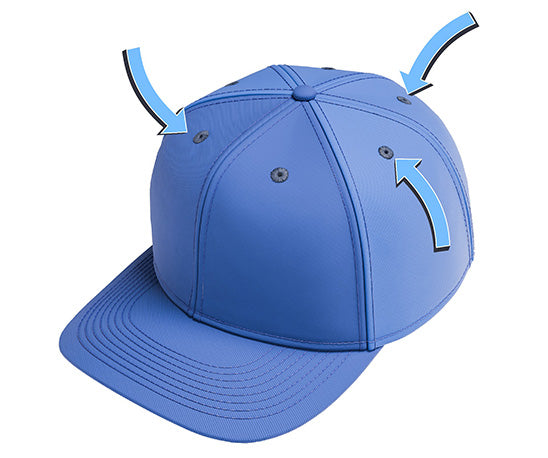
Prep Your Cap
- Choose which vent holes you want to decorate (works with all standard baseball caps, fitted hats, and snapbacks)
- Clean area around vent holes if needed
- Pro tip: Start with the center back for symmetrical designs
2
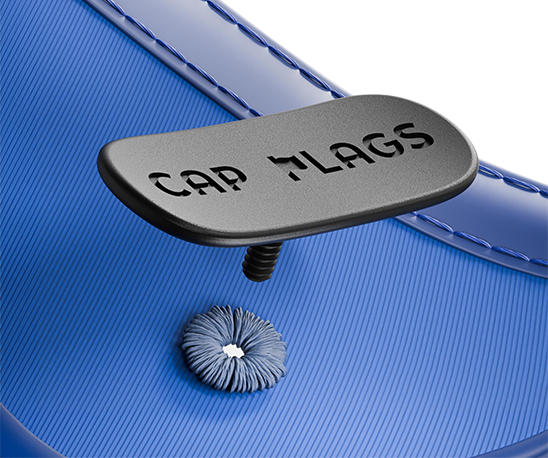
Install the Base
- Insert the CapFlags Base Mount through the vent hole from underneath
- The threaded post should point outward
- Keep one finger under the base for support
3
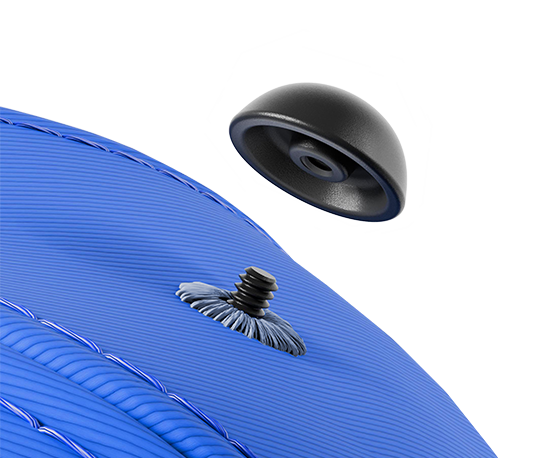
Secure the Mount
- Place the Cap over the threaded post
- Twist clockwise until it stops naturally
- No tools needed - hand-tight is perfect

4
Add Your Flag
- Select your desired flag
- Holding at the base of the flag pole push the flag pole straight into the top hole
- You'll feel a satisfying grip when it's seated properly